The Road Buzz Tax: A Cyclist's Upper-Body Durability Session
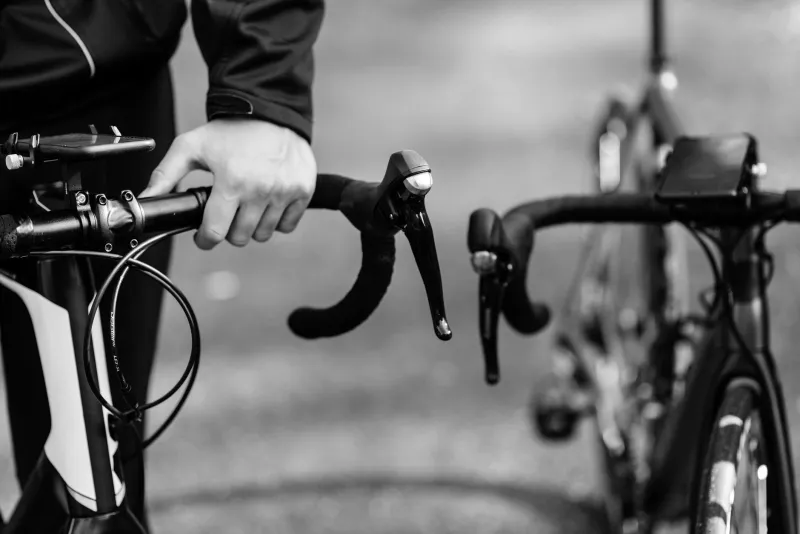
If you ride in the UK, you know the surface is part of the training load. Broken tarmac, patched repairs, raised ironwork and the occasional crater all send a jolt up through the front end. Your legs get the miles and the intervals. Your hands, wrists, elbows and shoulders get the vibration, the bracing and the same fixed position for hours. That is the road buzz tax, and most cyclists pay it quietly until a wrist ache or a stiff shoulder starts changing how they ride.
This is not a bodybuilding session. It is a short, twice-weekly durability routine for the upper body. The aim is simple: tolerate time on the bars, absorb bad surfaces and stay relaxed enough to steer and brake well when the road turns rough.
What the road buzz tax actually loads
Cyclists are good at building legs and lungs. The upper body often gets whatever is left. But long rides ask the wrist extensors, grip, scapular stabilisers and trunk to hold a position while the bike moves underneath you. Road vibration adds repeated low-level load. Potholes add sharp spikes. Neither is a reason to avoid riding. Both are a reason to prepare.
The useful work is unglamorous: progressive loading for tendons, control at the shoulder blade, grip endurance and a push-up pattern that keeps the chest and shoulders working together. You do not need a big kit bag. You need a small dose, done often enough to matter.
A three-part self-test
Do this before your first session and retest every four weeks. It is not a diagnosis. It is a way to spot the weak link.
- Wall slide check. Stand with your back to a wall, ribs down, arms at shoulder height with elbows bent. Try to slide your arms overhead without your ribs flaring or your lower back arching. If you cannot get close to overhead without cheating, your scapular control needs work.
- Wrist extensor hold. Rest your forearm on a table, palm down, holding a 500ml bottle or light dumbbell. Lift the back of your hand and hold for up to 30 seconds. Compare sides. An early burn, shake or big difference between sides is a signal to build wrist extensor endurance.
- Suitcase carry. Load a rucksack or kettlebell to a weight you can carry safely. Walk 20 metres with one arm. If you lean, shuffle or lose grip before the distance is up, your grip and trunk need attention.
Write the results down. Numbers beat memory, especially when you are trying to decide whether the routine is working.
The 15-minute session
Do this twice a week, non-consecutive. Put it after an easy ride, on a recovery day or as a separate short session. Avoid stacking it right before a key ride or a hard interval session.
Warm up for two minutes with arm circles, easy band pull-aparts and a few slow push-ups.
A1. Loaded carry 3 sets of 30 to 40 metres, or 40 seconds, each side. Use a suitcase carry with one arm, then switch. Keep ribs down and do not lean away from the load. Progress by adding weight, not by rushing.
A2. Scapular push-up or wall slide 2 sets of 8 to 10 slow reps. For the scapular push-up, start in a plank or kneeling plank and let the shoulder blades pinch together, then push them apart without bending the elbows. For the wall slide, keep ribs down and reach overhead without arching.
A3. Wrist extensor eccentric 2 sets of 10 to 12 each side. Rest your forearm on a bench or table, palm down. Lift the hand with the other hand, then lower slowly over three to four seconds. Use a light dumbbell, a bottle or a small plate. Slow lowering is the point.
A4. Push-up progression 3 sets of 6 to 10 reps. Choose an incline, floor or feet-elevated version that lets you use a full range with ribs down and no sag. Stop two reps short of failure.
Rest 45 to 60 seconds between sets. If time is tight, pair the carry with the scapular drill, and the wrist work with the push-ups. The whole thing should take about 15 minutes.
Progression that does not wreck the ride
Use a simple three-week wave. Week one is the baseline. Week two adds a small amount of load or one set. Week three adds a little time or slows the eccentric further. Week four backs off. Keep the effort around RPE 6 to 7 out of 10. The session should feel worked, not fried.
Progress load before volume. For the wrist work, slow lowering is your main lever. Sharp pain is a stop signal, not a challenge. If grip is still wrecked the next day, you went too hard.
Low-kit options
In a council gym, use dumbbells, kettlebells, a bench and a resistance band. At home, a rucksack with books or water bottles works for carries. A towel on a smooth floor can stand in for a wall slide. A sturdy chair gives you an incline push-up. A cheap band covers pull-aparts and shoulder control work. No kit at all? Use isometric wrist extension against your opposite hand, floor push-ups and slow wall slides.
Fitting it into a real week
A sensible pattern is Tuesday after an easy commute and Saturday after a cafe ride. Keep one session in race week. If life gets loud, do the carry and push-up progression only. Two short sessions beat one heroic session followed by a sore week.
When to get help
This routine is general durability work, not a diagnosis. If you get numbness, pins and needles in the fingers, weakness, night pain, swelling or pain that lingers more than 48 hours, see a physio or your GP. Do not train through neurological symptoms.
Strong shoulders and wrists are not vanity. They buy comfort, control and confidence when the road turns rough. Fifteen minutes, twice a week, is a small price for a quieter road buzz tax.